
introduction:
Electronic Program Guide (EPG) is an essential feature for those who use Kodi to stream live TV. It provides a scheduled list of TV programs, helping users know what’s on and when it’s airing. Adding an EPG to Kodi can enhance your live TV experience by providing a more professional and organized way of navigating live content. Below is a step-by-step guide on how to add an EPG to Kodi.
What You Need Before You Start:
- Kodi Installation: Ensure you have Kodi installed on your device. Visit Kodi’s official website to download the latest version.
- PVR Client: You will need a PVR (Personal Video Recorder) client in Kodi that can handle live TV streams and integrate EPG data.
- EPG Source: An EPG source to get the TV schedule data. You can use XMLTV or an IPTV source that provides EPG.
Step 1: Install Kodi PVR Client
The first step is to install the necessary PVR client in Kodi. This client will allow you to connect to IPTV services or other live TV providers.
- Launch Kodi and go to the main menu.
- Click on Add-ons.
- Select My add-ons.
- Scroll down and click on PVR clients.
- Choose the appropriate PVR client based on your streaming source (e.g., PVR IPTV Simple Client for IPTV streams or PVR Digital TV for live TV tuners).
- Click Install to add the PVR client to Kodi.
Step 2: Set Up IPTV or Live TV Source
After installing the PVR client, you need to configure it by adding a source for your live TV stream. This could either be an IPTV service or a digital TV tuner.
For IPTV:
- Go to Add-ons and select PVR IPTV Simple Client (or the PVR client you installed).
- Click on Configure.
- In the General tab, select M3U Play List URL.
- Enter your IPTV M3U URL in the provided box. This URL can be obtained from your IPTV provider.
- Under the EPG Settings section, you will see an option to enter an XMLTV URL or use a local XMLTV file. This will be the source for your Electronic Program Guide.
- After entering the necessary details, click OK.
For Digital TV Tuner:
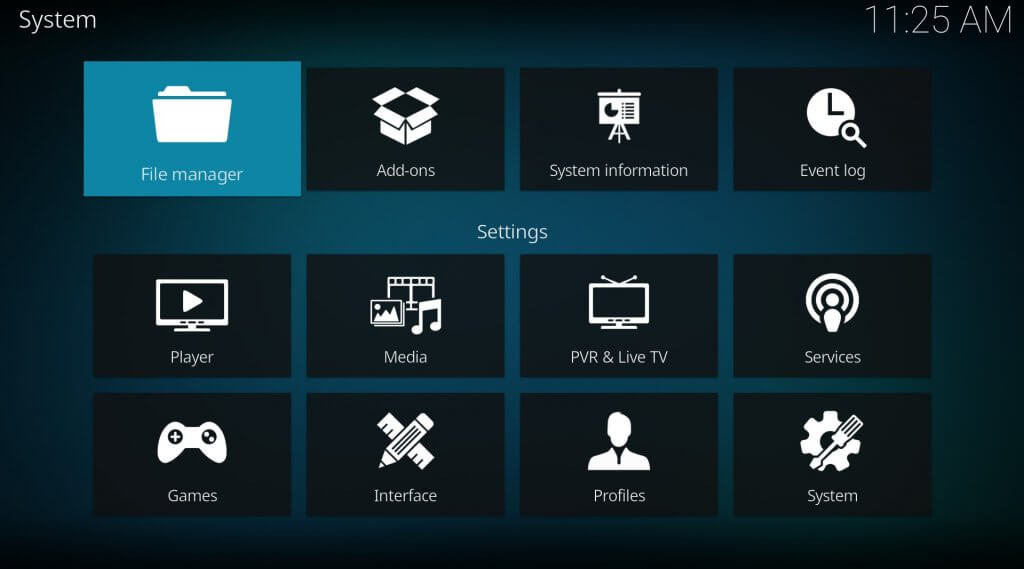
- If you’re using a digital TV tuner, go to PVR & Live TV settings.
- Under the TV section, you can select a device such as a USB TV tuner.
- The device should be detected automatically by Kodi, and once connected, you’ll be able to scan for channels.
- Similarly, you can configure the EPG URL in the EPG Settings section if you have an XMLTV source for EPG data.
Step 3: Add EPG Source (XMLTV URL or File)
The next step is to add an EPG source to Kodi. You can either use an XMLTV URL or a local XMLTV file.
Using an XMLTV URL:
- XMLTV URL: Many IPTV providers or EPG sources offer XMLTV URLs. This URL provides up-to-date TV guide data.
- Go to PVR & Live TV settings, and in the EPG section, select XMLTV URL.
- Enter the XMLTV URL provided by your IPTV provider or EPG service.
- Click OK to save.
Using a Local XMLTV File:
If you have a local XMLTV file on your device, you can add it as an EPG source:
- Download an XMLTV file from your preferred EPG source.
- In Kodi, go to PVR & Live TV settings.
- Under EPG, select XMLTV File and browse for the XMLTV file on your device.
- Once selected, click OK to load the EPG data.
Step 4: Enable and Configure EPG in Kodi
Once you’ve set up the EPG source (either URL or local file), you need to enable the EPG in Kodi.
- Go to Settings > PVR & Live TV > EPG Settings.
- Enable the option Download EPG if it’s not already turned on.
- If necessary, adjust the settings for how often Kodi should update the EPG data (e.g., once a day).
- After setting this up, click OK to apply the changes.
Step 5: Access EPG in Kodi
After setting up your PVR and EPG, you can access the EPG directly through Kodi’s interface:
- Go to the TV section in Kodi’s main menu.
- Select Guide to access the EPG. You’ll now be able to see the list of TV programs by time and date.
- You can navigate through the EPG to see upcoming shows, and if you want to watch a live TV program, simply click on the show’s title.
Step 6: Troubleshooting
If the EPG isn’t displaying correctly or you encounter issues, try the following:
- Refresh the EPG: Sometimes the guide may take a few minutes to load. If it doesn’t update, try refreshing it through the settings menu.
- Check the Source URL: If you’re using an XMLTV URL, ensure the URL is correct and working.
- Reconfigure the PVR Client: If there’s an issue with the PVR client, uninstall it and reinstall it to ensure proper configuration.
- Use a Different EPG Source: Some sources may not be compatible with your setup. Try another XMLTV provider if issues persist.
Conclusion:
Adding an EPG to Kodi is a straightforward process, but the specific steps may vary depending on the PVR client and streaming source you use. Whether you’re using IPTV or a digital TV tuner, Kodi allows you to integrate EPGs for a seamless live TV viewing experience. By following these steps, you can enhance your Kodi setup and enjoy a fully functional TV guide with real-time program schedules.
Other topics related to this article:
How to Add M3U Playlist to Kodi
Leave a Reply